Did you know that WordPress powers more than 39.5% of all websites on the internet? Yes, one in every four websites that you visit is a WordPress website.
It is more important than ever now to have an online presence, and WordPress provides a quick and straightforward solution for all your website-building needs.
In this 5 easy step tutorial, We’ll go into topics like hosting, installation, and website-building strategies that’ll help you create a polished website.
This tutorial will make your web-building journey as easy as a walk in the park. So buckle up, and let’s create your website!
How to Make a WordPress Website?
1) Choose your domain and web hosting service
First on the list – choosing your domain and web hosting service.
Choosing a good hosting provider is essential. Before you decide on one, take some time to evaluate all the web hosting options available.
If you’re just starting out, shared hosting plans are cost-effective and will help you get started quickly.
When it comes to domain names, make sure that the one you pick is easy to remember. It should also reflect your brand and what your website is all about.
A good practice is to keep the name as short as possible and make sure it’s available on all popular social media platforms.
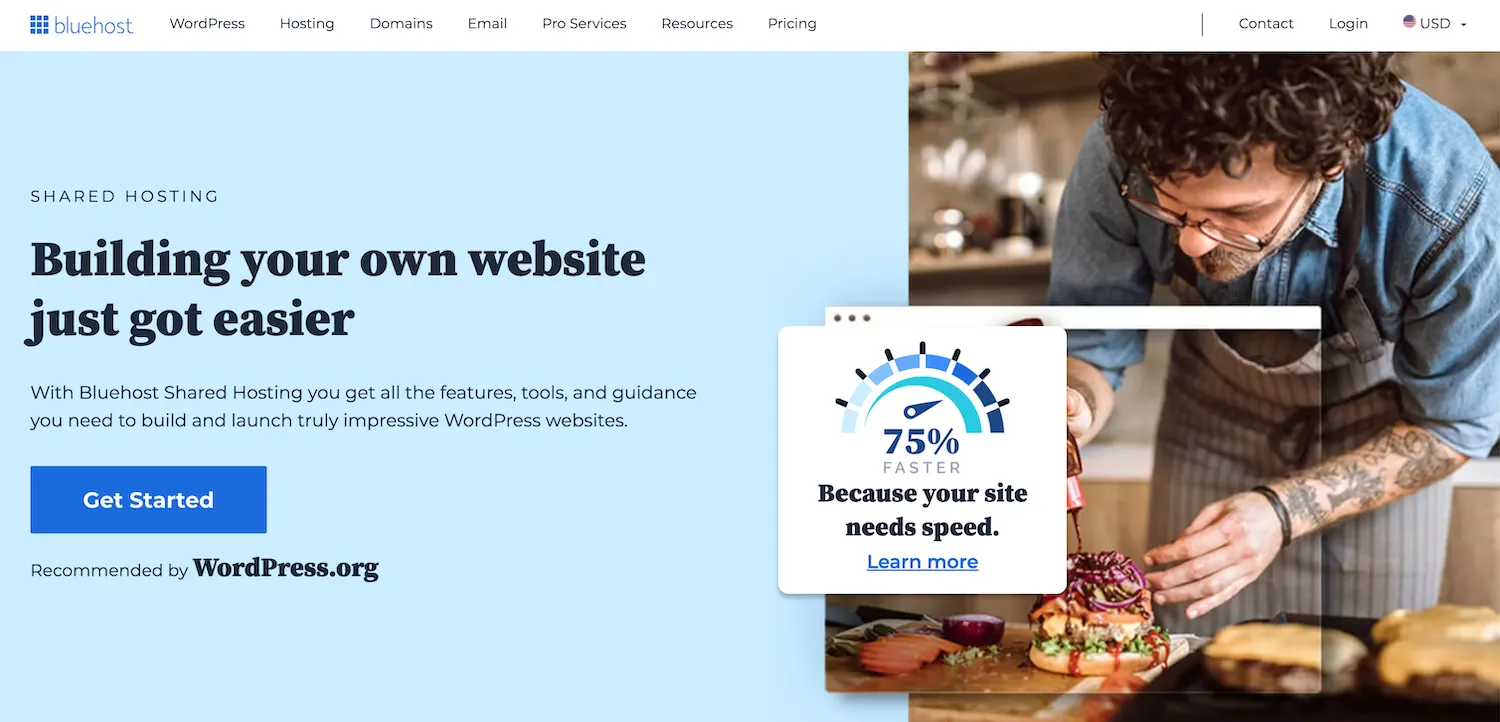
It’s worth noting that many hosting services also provide a domain name as part of their package. This can simplify the website-building process by keeping your domain registration and hosting under a single provider, streamlining admin and billing.
Services such as Bluehost, FastComet (with FastCloud Plus option), and GreenGeeks, among others, offer this as part of their packages.
2) Installing WordPress
Once you’ve chosen your domain and hosting service, the next step is to install WordPress. It’s a fairly straightforward process and can be done in minutes.
Most hosting services provide an easy-to-install option for WordPress users. All you need to do is select the “Install WordPress” button, and you’ll be prompted to a step-by-step guide.
If you are just starting out, the interface of a web hosting service can indeed appear overwhelming. However, finding the button to install WordPress is easier than you might think.
Usually, after logging in to your hosting account, you’ll find a dashboard or control panel. Within this panel, look for a section titled ‘Website’ or ‘Software’. You should see an option for ‘WordPress’, ‘Softaculous’, ‘Apps Installer’, or something similar.
Click on this, and you’ll typically find the ‘Install WordPress’ button. If you still can’t locate it, don’t hesitate to use the hosting service’s help or search function, or contact their customer support, who are there to assist you.
Once the process is complete, you’ll have access to your new website and can start making changes.
3) Accessing WordPress After Installation
To access your site after installation, go to your admin login URL. This URL usually follows the format: http://yourdomain.com/wp-admin. Replace “yourdomain.com” with your actual domain name and press enter.
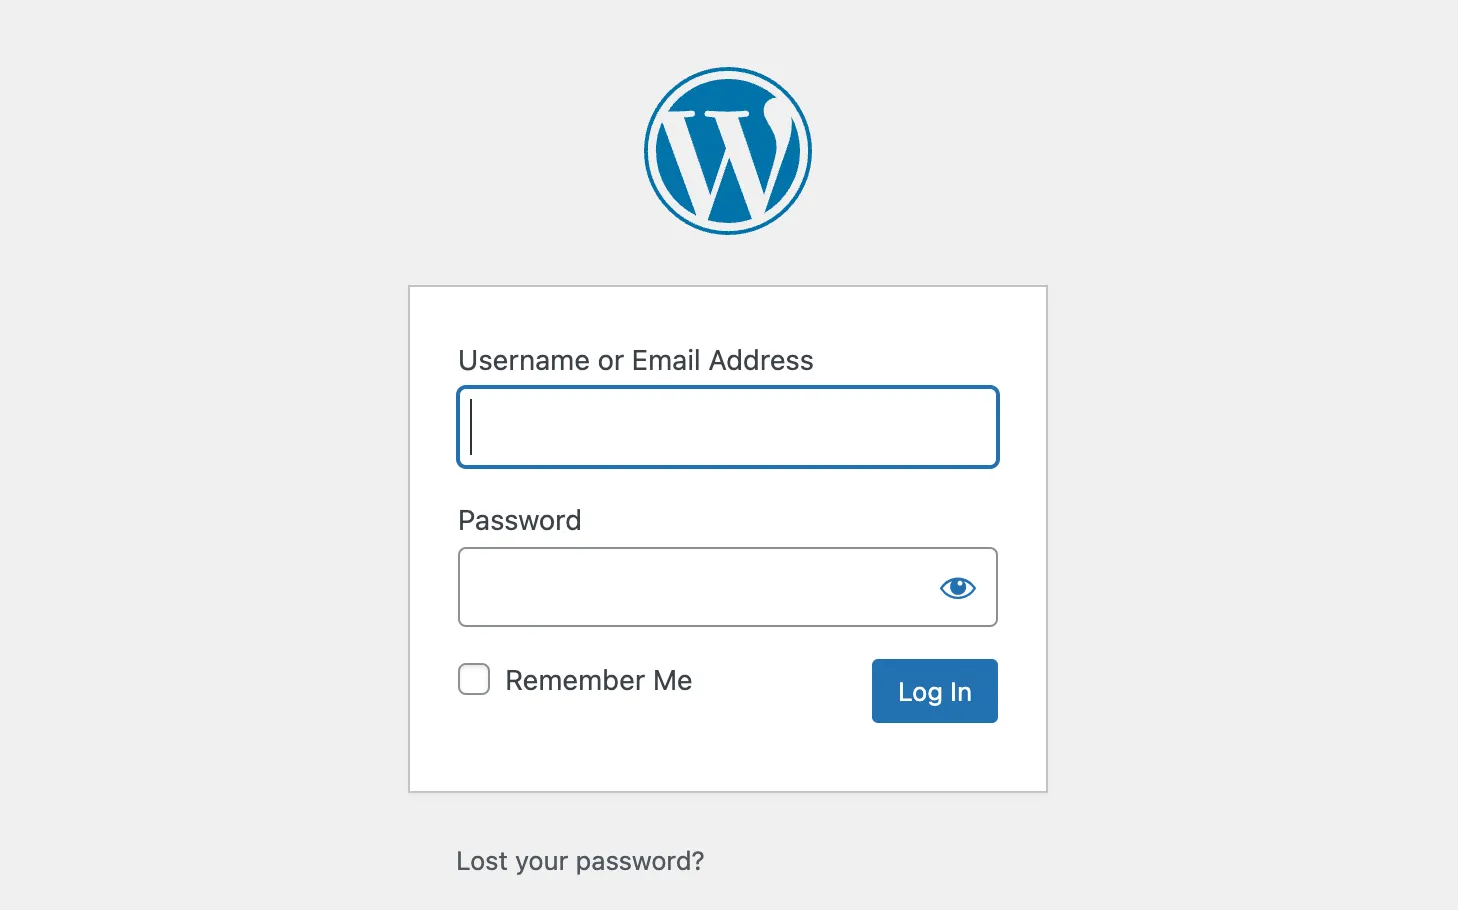
A login screen will appear where you can enter the username and password you have set up during the installation. Once these steps are completed, click on the ‘Login’ button.

Voila! You have now accessed your WordPress website dashboard, the control panel for your website. This is where you can start building your site, adding new posts and pages, installing themes, adding plugins, and customizing settings to make your website your own.
4) WordPress Themes
WordPress offers thousands of free and premium themes to choose from. The theme is responsible for how your website looks and feels, so it’s essential to pick a good one.
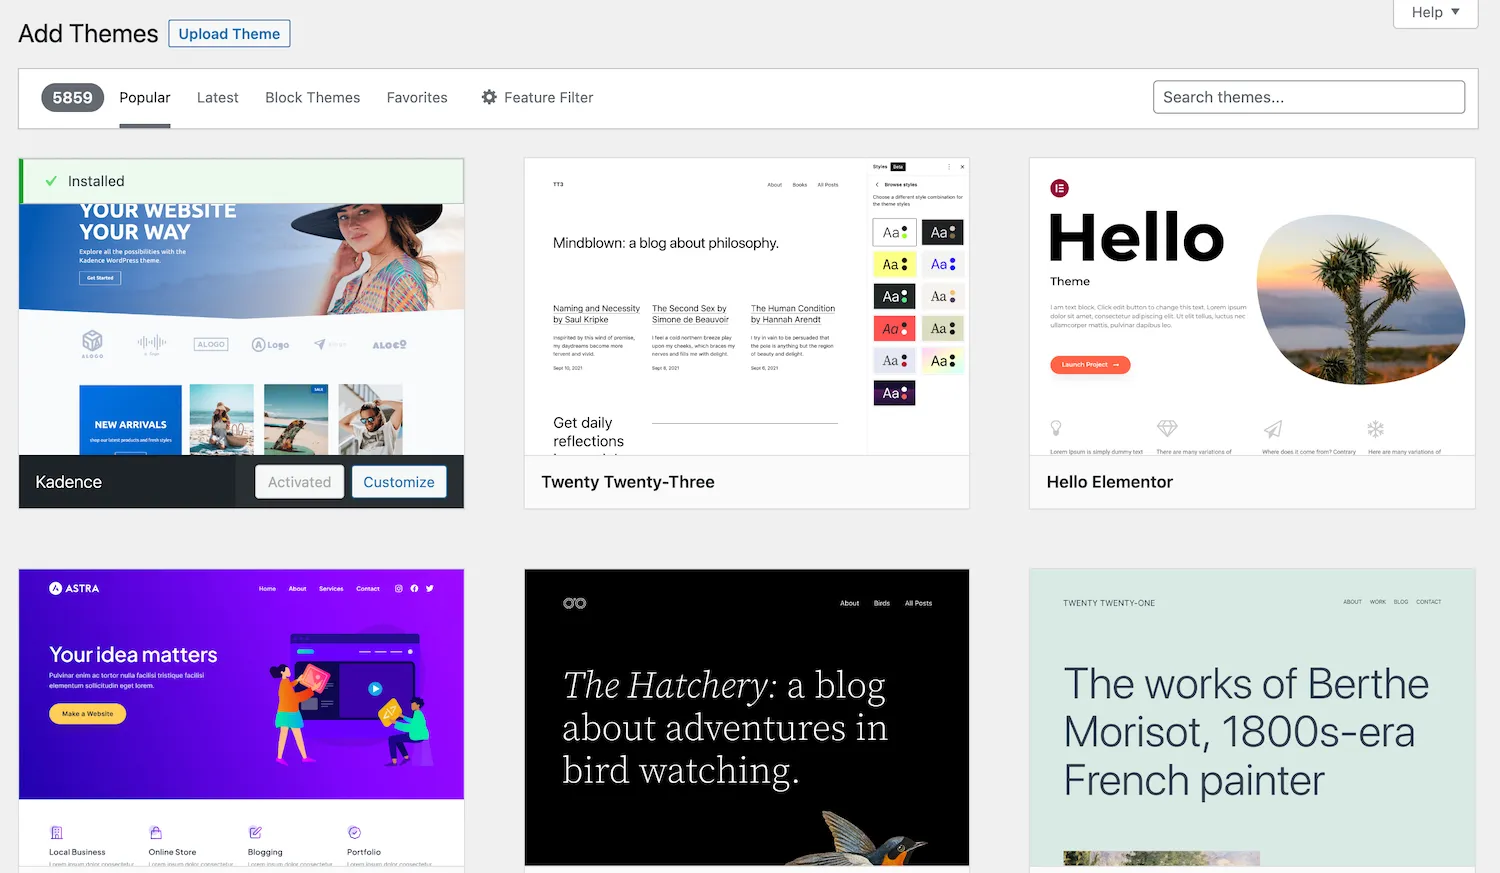
If you want to start small, there are many simple yet stylish themes that can help you create an engaging website in no time. I personally like Kadence‘s theme, and in fact, it’s the theme that I use for this post.
Kadence is a user-friendly WordPress theme that is lightweight, and flexible, that allows you to build a beautiful and professional website with ease.
You can choose other themes as well. A few of my favourites are Blocksy, Astra, OceanWP, and GeneratePress.
Read my full Blocksy review to get a better understanding of the theme.
Once you’ve selected a theme for your website, click on ‘Install’ or ‘Activate’ (depending on the WordPress version), and it will be added to your site.
You can start designing and creating content for your site. Navigate to ‘Appearance’ and then ‘Customize’ on your WordPress dashboard to access the customization settings of your theme. Here, you can modify elements such as the site’s title, colors, background, header and footer, menus, widgets, and more.
To create new pages and posts, navigate to ‘Pages’ or ‘Posts’ from your dashboard, and click on ‘Add New.’ This will bring you to the WordPress editor where you can begin crafting your content. Depending on your theme, you may have access to a variety of blocks and layouts to help design your page.
Remember, the beauty of a WordPress website lies in its flexibility. You’re not locked into any one design or layout; you can experiment and change anything at any time. Don’t be afraid to play around with different elements to see what works best for your site.
Don’t forget to click ‘Save Draft’ as you work to prevent any loss of progress, and hit ‘Publish’ when you’re ready to make your page or post live.
5) WordPress Plugins
The next step is to install plugins. They are pieces of software that provide extra functionality for your WordPress website, such as contact forms, analytics, security, website builders, and many more.
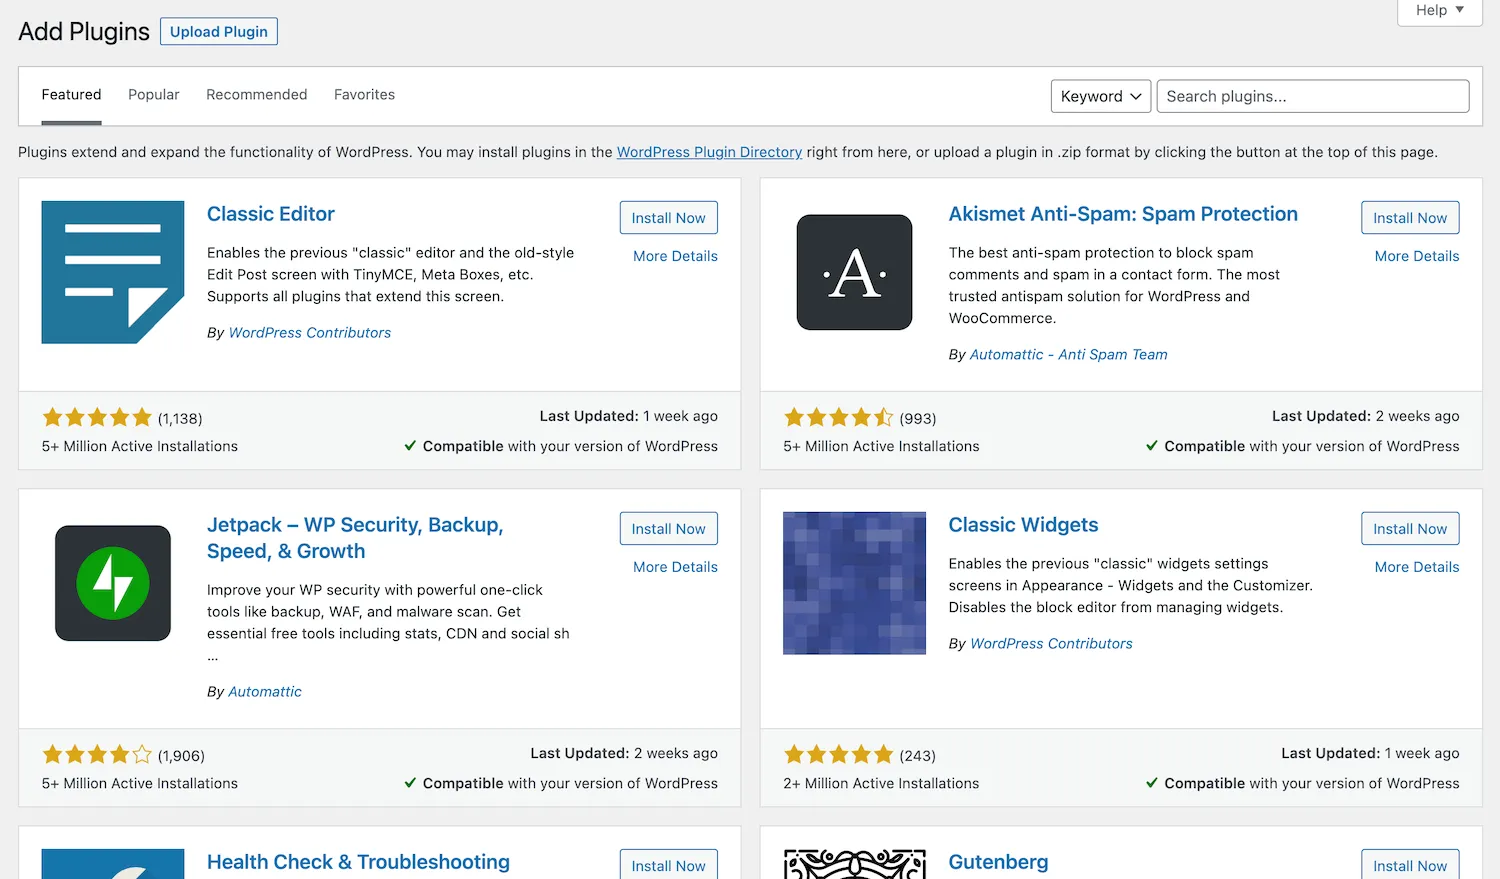
You can find a wide range of free plugins in the WordPress plugin directory or purchase premium ones from third-party websites.
When selecting plugins, it’s important to keep in mind the overall performance of your website. As always, less is more when it comes to plugins.
Here are a few essentials that can greatly enhance the functionality of your WordPress website:
- Rank Math: Rank Math is a popular SEO plugin. It helps you to optimize your WordPress website’s content and improve visibility. You can read more in my full Rank Math review.
- Contact Form 7: Contact Form 7 allows you to create and manage multiple contact forms. It is simple to use and versatile, allowing for a range of customization options.
- Wordfence Security: Wordfence Security gives you a firewall and virus scanner to protect your website against hacking and malware.
- WP Super Cache: WP Super Cache speeds up your website by generating static HTML files from dynamic WordPress content, reducing the load on your server.
- Akismet Anti-Spam: Akismet checks all comments and filters out the ones that look like spam, keeping your website clean and safe.
Remember, while plugins can provide extra functionality, too many can slow down your website. So, only install the ones that you really need and make sure to keep them up to date.
Wrapping Up
That’s it!
You can now start enjoying your website with all its amazing features.
However, it’s also important to remember that WordPress is always evolving and so should you. Don’t forget to update your plugins regularly, as they may contain security patches or other bug fixes and improvements.
Also, continue creating new content for your WordPress website and engaging with visitors by responding to comments and messages.
Good luck on your website journey!